

A free author page gives readers one address that always has the right answer: who you are, what you write, every book you have, and where to buy it. On Author Beta it costs nothing, needs no website skills, and connects to everything else you do here, from beta reads to marketing posts.
We will build one step by step, using our own author, M.A. Kirkeby, as the worked example. Open his page in another tab and you can see each step finished.
What a free author page gives you
- Your own address: authorbeta.com/your-name, easy to say aloud and print on a bookmark.
- A page for every book, with its cover, description, series and a button for every store.
- Your short and full bio, your photo, your genres and every social link.
- Reader reviews you choose to publish, and your open beta reads.
- A listing in the Authors directory and your books on the Bookshelf, both read by search engines.
- A press kit page and a link-in-bio page, built from the same details.
Step 1: choose your page address
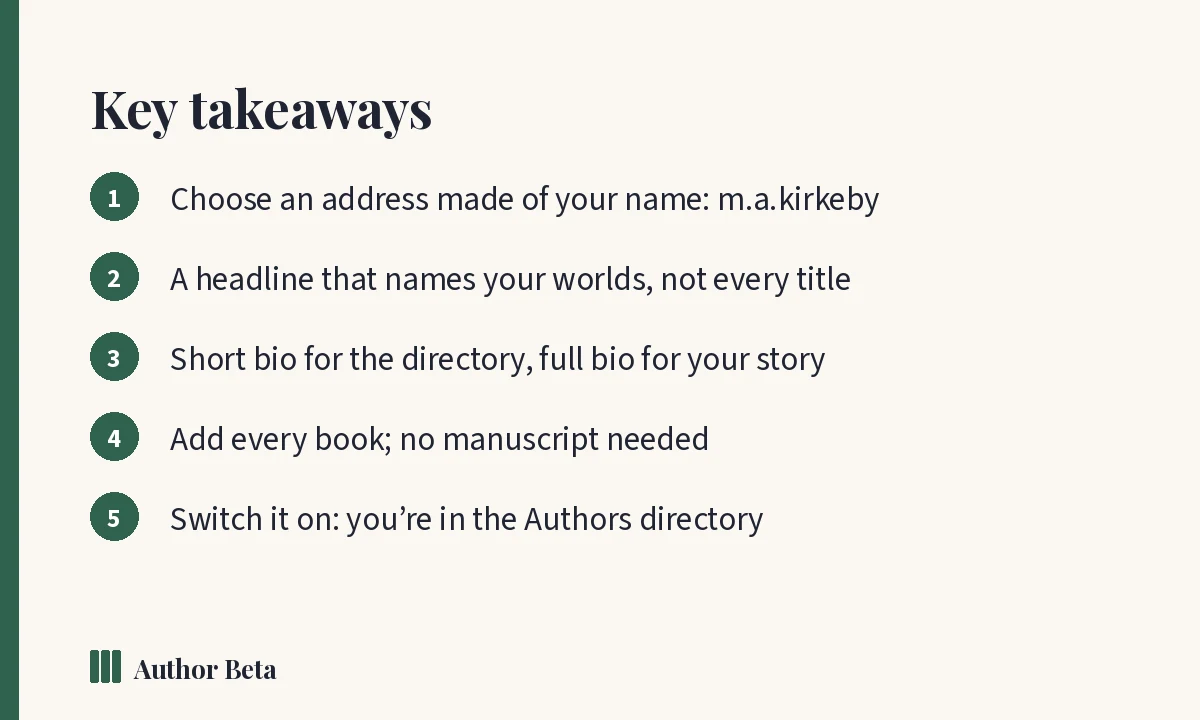
Go to Dashboard → Author page. The address is your name in two or more parts, joined by a dot, dash or underscore: m.a.kirkeby, jane-doe, ma_kirkeby. Capitals and punctuation do not make a different name, so nobody can register a look-alike of yours.
A new or changed name is checked by our team before the page goes public. You can speed that up by adding a link that proves you write under the name: your website, your Amazon author page, Goodreads or a social profile. Read more in Your page address and the name check.
Step 2: your name, headline and genres
Fill in your pen name, where you are based (optional), and a headline: one line under your name that tells a stranger what kind of books you write. M.A. Kirkeby’s headline is “Norse myth, the American West, and what hides just past the edge of the map”. It names his worlds without listing every title.
Tick the genres you write. They decide where you appear when readers filter the Authors directory, so choose the ones a reader would search for.
Step 3: your short bio and full bio
- Short bio, up to 600 characters: shown in the directory, on your beta pages and at the top of your page. Two or three sentences.
- Full bio, up to 8,000 characters: your story, as long as you like. Leave a blank line between paragraphs, and start a line with “## ” to add a subheading such as “## How I started writing”.
Not sure what to say? Bio Studio builds every bio you need from a few facts, and puts the one you choose straight onto your page. Our guide to writing an author bio walks through it.
Step 4: add your photo
A photo or logo is optional, but pages with a face get more trust. Any JPG, PNG, WebP or GIF under 8 MB works; square is best, and we resize it for speed.
Step 5: add your links
Add the places readers can follow you: website, newsletter, Amazon author page, Goodreads, BookBub, Instagram, Facebook, X, TikTok, YouTube, Threads, Bluesky, Substack, Patreon and Ko-fi. Add a newsletter link and your page shows a “Join my newsletter” button. For anything else, a shop or a podcast, add up to six links with your own label.
Step 6: add your books
Books you beta read here are already in your list; tick Show on my author page. A book that is already out, or coming soon, can be added with Add a published book: no manuscript needed. Each book gets its own page. Our guide to building a book page covers every field.
Step 7: choose the look
Pick one of six themes made for genres (Classic, Noir, Rose, Parchment, Starlight, Minimal), a font pairing, your own colours if you like, and a colour or picture for the top of the page. Every setting is explained in Author page settings explained.
Step 8: switch it on
Tick Show my author page publicly, confirm you have read the author page rules (only your own work, honest information, and reviews used as readers wrote them), and press Save changes. Once your name is approved, the page is live and listed in the directory.
When you are signed in and look at your own page, a bar that only you can see offers shortcuts: start a marketing campaign, open your press kit, or edit the page. Readers never see it.
Frequently asked questions
Is the author page really free?
Yes. The page, every book page, the themes, fonts, colours, the press kit and Author Links are free. Paid plans add things like pen-name pages and a fully designed author site.
How long does the name check take?
Usually a short while. Adding a link that proves you write under the name makes it quicker.
Can I hide my page while I work on it?
Yes. Leave “Show my author page publicly” unticked until you are ready. You can still preview everything.
Do I need a beta read to have a page?
No. Add published or coming-soon books directly, with no manuscript.
Comments